Well, the old girl was a smoker, no matter how much I drove her and pushed her and tuned her, she had a nasty habit of expelling a cloud of bluish-grey when taking off from a stop. The longer she idled, the more embarrassing the cloud. I figured (optimistically) that the valve guide seals were deteriorated from sitting, so I embarked upon replacement of the seals. If you know your M10's, you know BMW doesn't make this an afternoon project like, say, a Chevy 350 engine. No, BMW insists you remove the camshaft and rocker shafts, and to do so requires you to remove the cylinder head from the engine. No big deal, that's a chore that takes around 3 hours working at a reasonable clip.
1975 BMW 2002 losing it's head
The expedited way to pull the head. You don't need to unbolt ancillary parts for a quickie repair.
4 slugs finally see the light of day
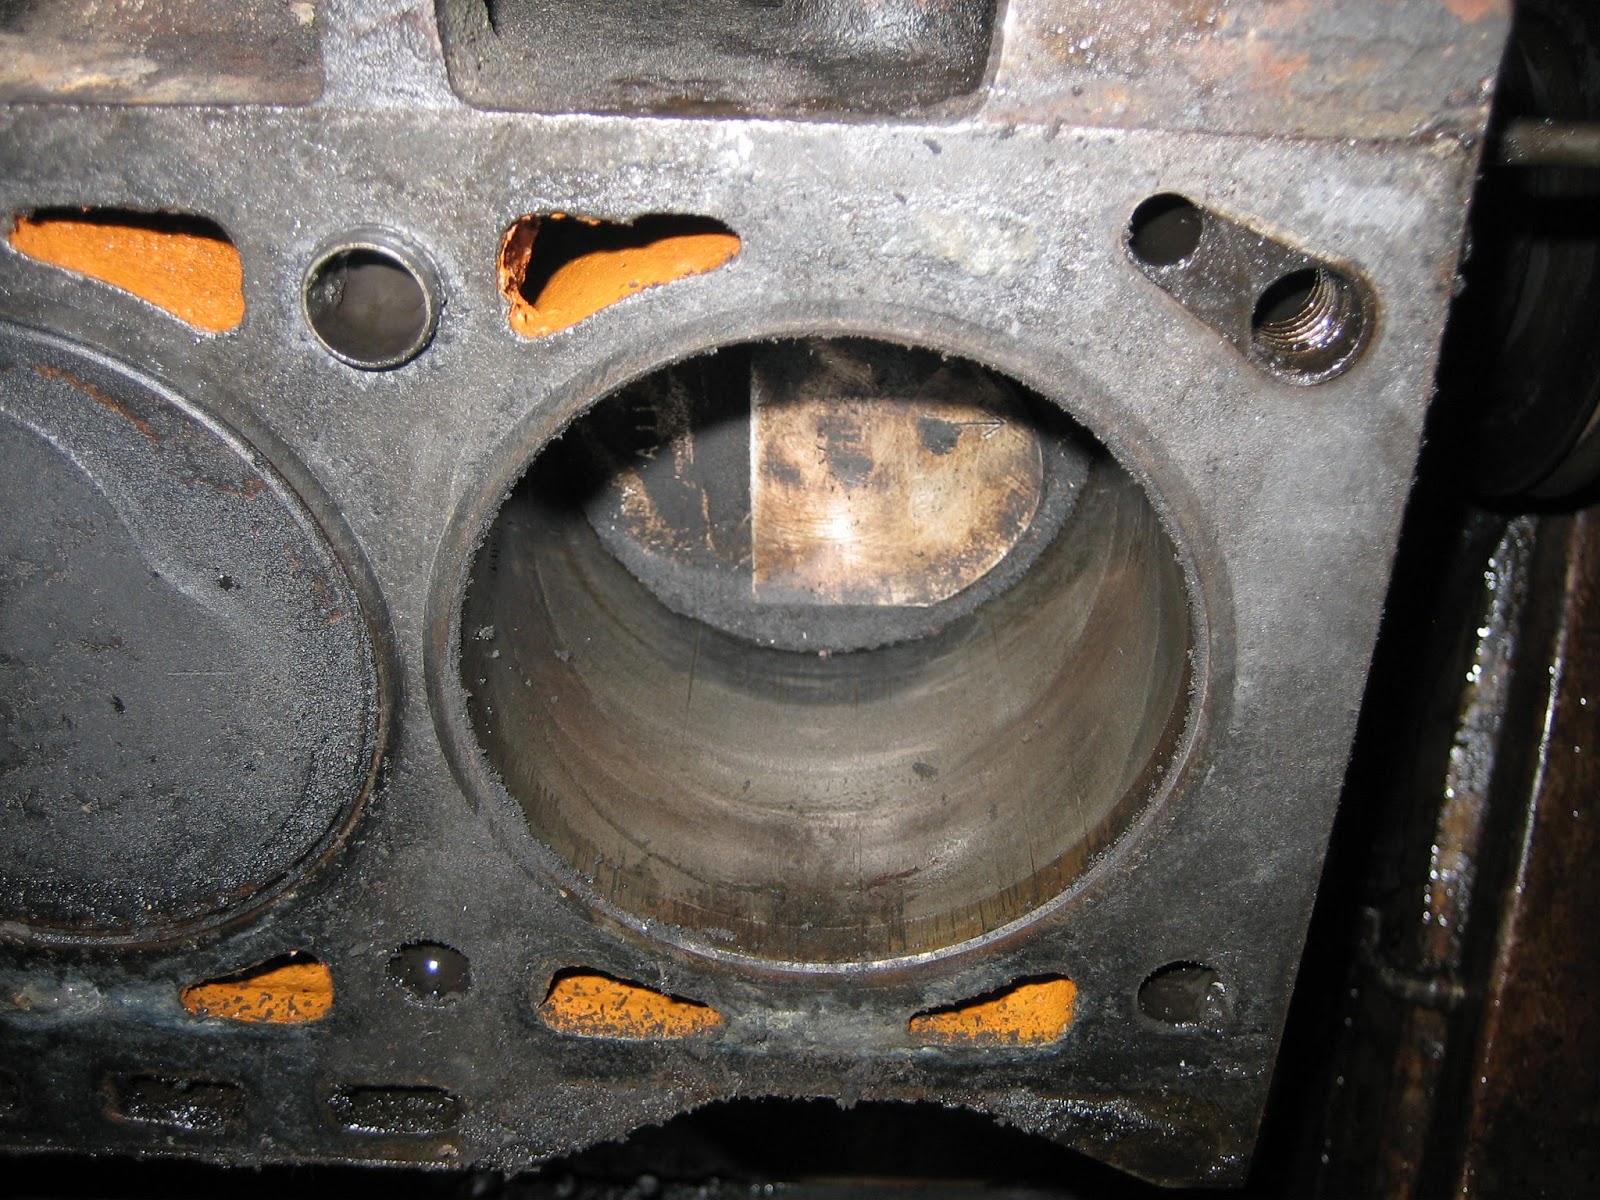
Oops, I looked too closely...There's aggressive pitting and scratches in the #1 bore...this is the cause of the smoking problem....Ugh. Turns out the guide seals were still in great shape.
The scoring of the cylinder wall meant major engine repair, which meant major engine removal, which meant I wasn't getting my garage space back for my other car any time soon.
Turns out the maneuver pictured here is not an effective way of resolving BMW engine problems.
The bottom end is rock solid with perfect bearings all around.
I marked all my rod and main caps for correct reassembly later.
As fate would have it, I was already in possession of a higher compression 121 head and the corresponding high compression pop-up pistons that were once inside a 2000CS coupe. As I would be boring the engine, I bored it to the .50mm over spec of the 121 pistons. (originals are on the left, 121's on the right for compare).
Here's the greasy block being trucked away to my local machine shop drop-off point.
And the block returned cleaned, bored .50mm over and ready for action, less than a week later- Thank you Grass Valley, CA Napa, you guys are alright in my book!
Original crank washed and reinstalled.
the 121 head came with the spare parts collection when I purchased the car. It was about .014" warped though, so off it went to NAPA in Grass Valley. The valves and guides were all in excellent shape. I re-lapped the valves by hand and installed new Viton seals.
Here's the 121 pistons installed in the block. Note the extent to which they protrude above the deck surface. Cool.
While waiting for the block to return I used my time to clean and paint all the reusable engine parts. Here they are on the shelf waiting their turn for installation.
All together. Not much of a tutorial here, but this has all been well documented in service manuals, so I recommend anyone doing this get one.
Back at home. I also upgraded the cam with one that was in my box of parts. It was a slightly higher lift, custom grind 180 that was done by some independent speed shop out of San Jose, CA probably some time in the 80's. The engine starts and runs excellent without a whisper of smoke. The toque delivery is now very linear and robust. It revs higher too. I also put in new chains, guides and rocker shafts as they were all very worn and noisy.
Final iteration of the engine. Dual 38 Weber and an electric fuel pump. I swapped in a mechanical timing chain tensioner as the original style wasn't working right and caused erratic timing and hesitations.