
the rear of the 2002 up on stands

I pulled out the differential mount bracket because I am replacing those bushings as well. this is a 10 minute operation requiring only the removal of four 17 mm fasteners.

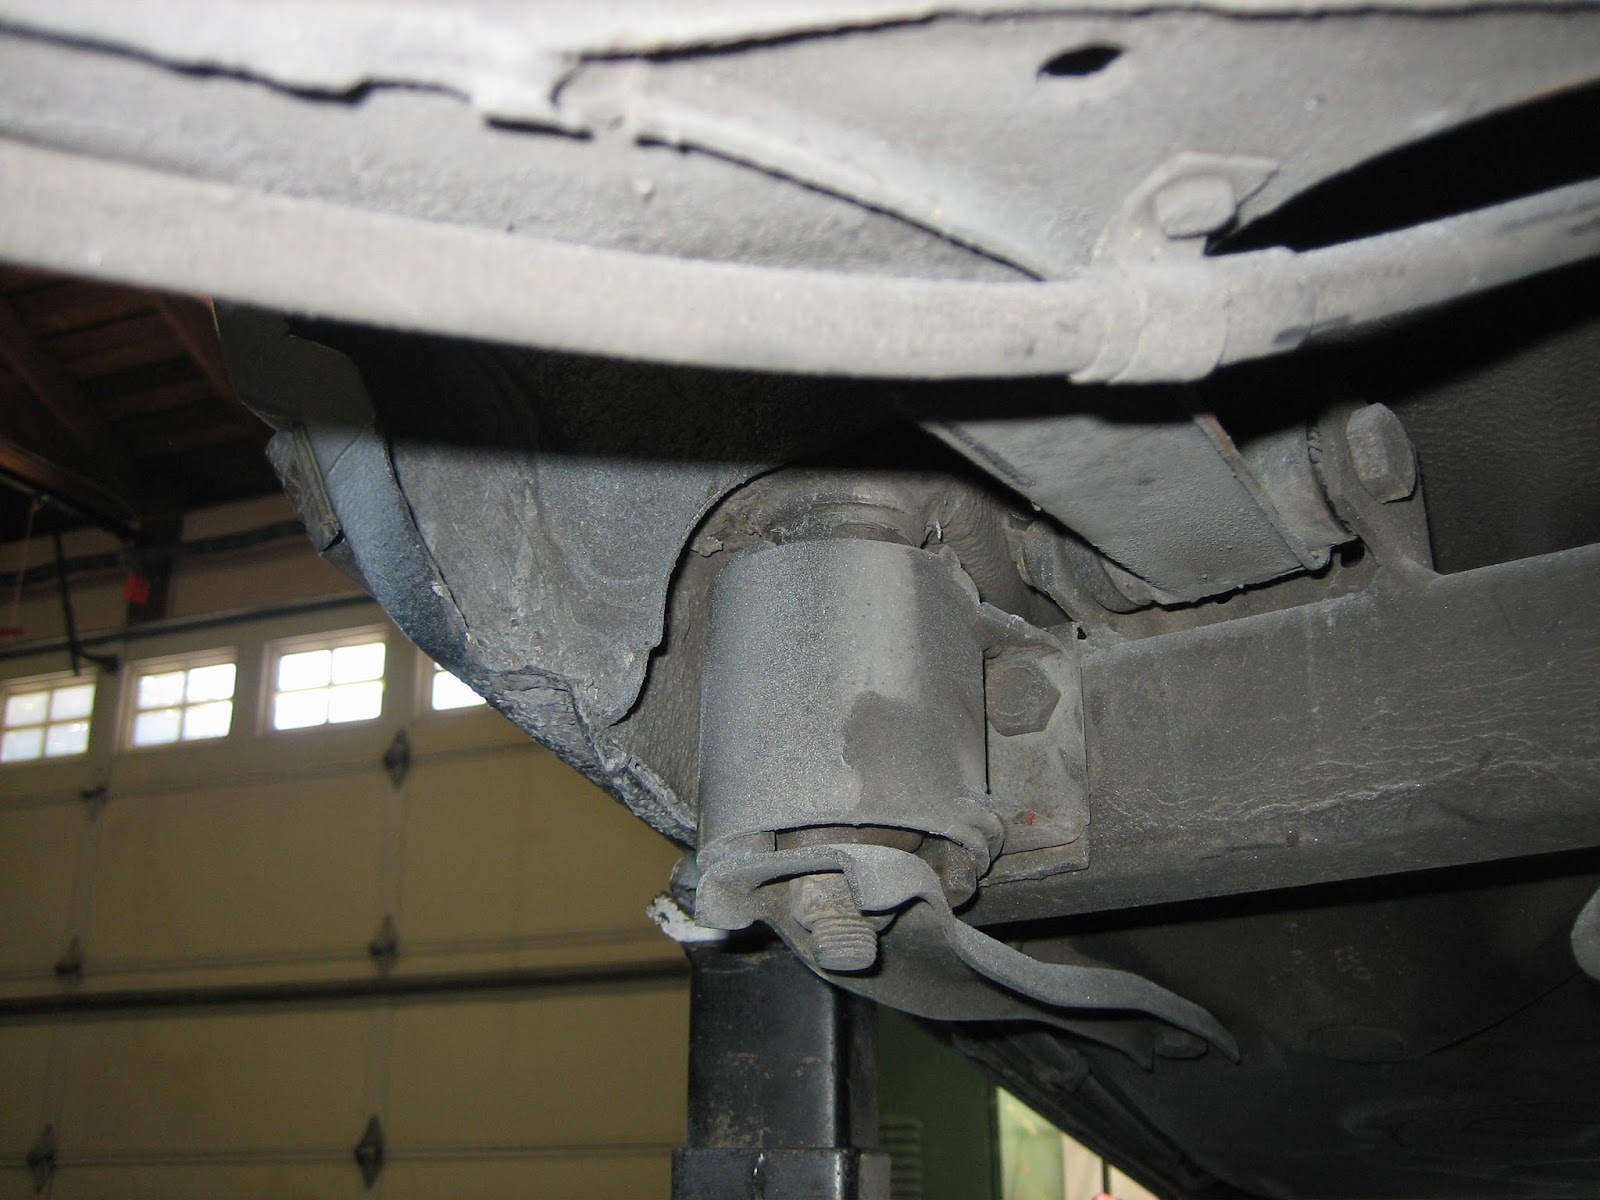
Under-view. Looks pretty tired to me.

Step one- remove 22mm nut. Loosen 17mm bolt at front of the safety bracket to allow the bracket to drop. (note both body and subframe are supported)

jam one of the attaching bolts with a screwdriver thusly, then remove the 17mm nut from the other end.

When all loose, I allowed the subframe to drop a bit, I wiggled one of the long bolts out and finagled the mount the rest of the way out.

right side mount cracked and responsible for the noise and excessive subframe movement.

glamor shot of cracked subframe mount.

New poly kit

New mount bushing is not offset, and also requires re use of original metal housing, which BMW did not intend for re use/re purposing.

I drilled out the rubber until the center metal sleeve was loose

I removed the center sleeve

I trimmed away a little more old rubber (the more you cut away, the less you have to burn)

I torched the remainder. Once lit, it burned very aggressively on it's own.

This part is really satisfying if there is an eight-year-old pyromaniac trapped inside you. However, it is a filthy stinking smoky mess. I was slightly concerned a neighbor may call the fire department, so do it when nobody is around, like on Thursday at 1 pm.

As it was burning down I was scraping the rubber away with a long screwdriver

A quick coat of paint

the new bushings push in with relative ease.

The new bushing center is low, but after a call to the manufacturer, I was reassured that this is how it's supposed to be and that it is designed to squeeze together to completely inhibit movement once installed.

I picked up some slightly shorter bolts so I can bolt the mount to the frame in a more maintenance-friendly fashion to make future work a breeze. (originals on the right)

The nut is now on the inside, allowing easy re installation and for the mounts to be removed without as much finagling in the future.

All bolted up and no clearance issues.

Another view

I added a thick flat washer top and bottom of the new bushing to better distribute the squeeze of the main bolt.

the new subframe bushings are not offset and have raised the front of the subframe a bit. After talking with the manufacturer I was assured that this is in no way going to induce a bad pinion angle or create any problems. (spoiler alert- he was right, they worked perfectly)

Removal of the differential mount bracket. Note that I pulled this first, and re installed it last during the whole repair process.

New bushings above the old

sagging, cracked, and pulling away from their shells.

I pried the rubber centers out

I hack-sawed the shells in two places

I used a screw driver as a punch and tapped the remaining bushing shells out very effortlessly

A clean removal without a press

New poly bushings push in with light hand pressure

New poly bushings installed in bracket

Bracket snakes in easily from one side

Bolted back into place, clean and simple.
When I researched the polyurethane upgrade, I found half the reviews contended they transmit too much noise, vibration and harshness into the cabin, others stated there was none. My findings are that there is no noticeable increase in NVH, however if I pay attention, the windows are rolled up, and the radio is off, I can hear a little click from the ring and pinion when I soft pedal the accelerator between the drive and coast side of the gears. No big deal. I like having a tight rear sub frame.
Also note, I attempted to shove the long body bolt up under the rear seat, but it was pretty well stuck, so I left it in place nice and snug.