Modifying the TR3 was surprisingly easy. I stuck with the Miata engine mounts and built some brackets out of 1/8 thick 2" square tube. I had to measure the original angle of the Miata mounts in the car. Then, I just matched the angle, cut it into the square tube with my trusty Porter-Cable angle grinder (which by the way I used from day one to dismantle rusty frozen fasteners and cut away rusted sheet metal-I highly recommend this tool).

Angle finder and Angle grinder. 2" square tube cut to match Miata engine mount slope.
I positioned the engine where it seemed to be the best fit (I wanted it really low in the chassis for CG purposes, but couldn't get there without notching the frame for the crank pulley, so I mounted it at a fairly standard altitude). While the engine was leveled and suspended on a hoist, I made some measurements, cut the brackets to length and then tacked them in place.
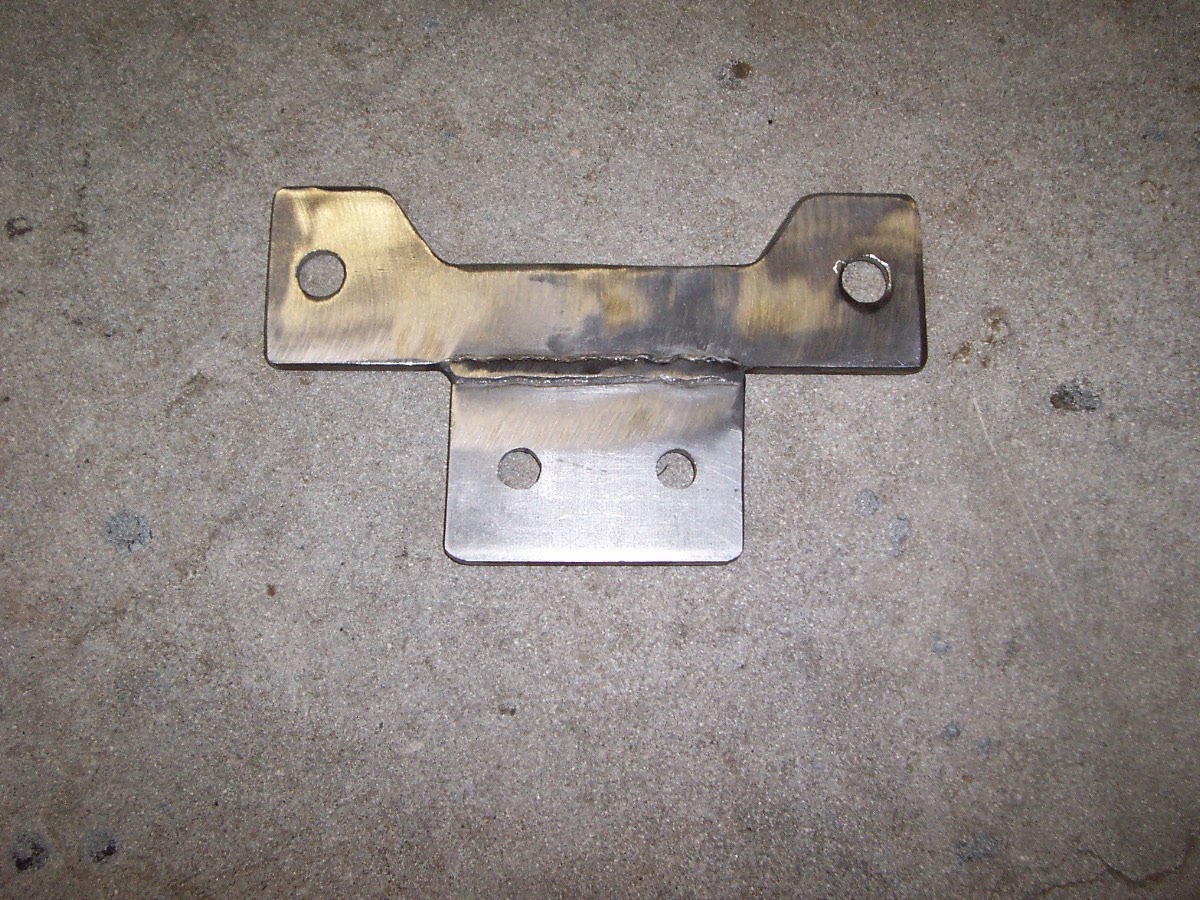
Once I was satisfied with the orientation of the engine, I finish welded and repainted the new mount bosses. Mounting the transmission was a total gimme. I used a new stock TR3 mount on the stock cross member in the stock location. All I had to do was make a flat adapter plate and it bolted right in! Sometimes you just get to push the "easy" button. Interestingly though, the Miata engine mounts are located towards the rear of the engine, and that is almost the perfect balance point when the trans and engine are bolted together. There is really no weight on the transmission mount, it just locates it for the most part.
The best part is that in the future I will be able to refit the original engine and transmission by simply cutting off the Miata frame mounts. All original mount points are still fully in-tact. The modifications are minimal and reversible.
Miata engine mount cups welded to 2" square tube
I didn't really know for sure that this was going to fit until I actually set it in place. I made tons of measurements even before purchasing the donor car, but you never really know...
This transmission looks right at home and was super compliant. Thank you transmission! As a reward, I treated it to a new clutch and some fresh oil.
The left mount. I know this because of the additional 1/8" plate I added to raise it off the frame in order to level the engine.
Here's the Miata engine mount cups tacked in place ready to be test fit again. I had the engine in and out several times. And when it was all done, I pulled the engine again to clean and paint it, to re-ring it and throw a new timing belt and water pump at it.
Test fit.
Adapter bracket for trans mount. I made it out of two pieces of 2" wide 1/8" plate steel.
Adapter plate fastened to TR3 mount and fastened to Miata tail shaft. Again, the way this power train is smartly balanced, there's not much weight on this mount.
The space is tight, but the new engine manages to nestle in. Note that I had to remove the right horn mount to make way for the idle air control valve. Later I had to do additional clearancing on the same side to allow for full stroke of the throttle arm.


