I spent a lot of time thinking about and researching potential low-buck front suspension upgrades. A full rebuild was inevitable as it was all shot. The right upper control arm was cracked and it looked like it was about 25 road-miles away from complete failure. Crazy! I wanted to achieve some negative camber (don't we all). I found a very interesting study posted online that a fellow did on a TR3 using a suspension modeling program on his computer. The gloss is that one can shorten their upper control arms to achieve a reasonable amount of negative camber, while at the same time improving the entire camber curve through suspension travel. I'm in! No extra parts to buy, just cut out 3/8 of an inch and weld them back together! Did it! Not happy with the end results, I have way too much negative camber. As of this writing I am planning to convert the lower trunnions and upper a arms/ball joint to lats TR4 components. In this way I get some caster and go back to a more reasonable camber setting that will be modifiable in the future if desired.

I sand blasted the frame in a friend's open field and later painted it with POR-15. These shabby saw horses provided a nice working height. The frame is light enough for me to carry solo.
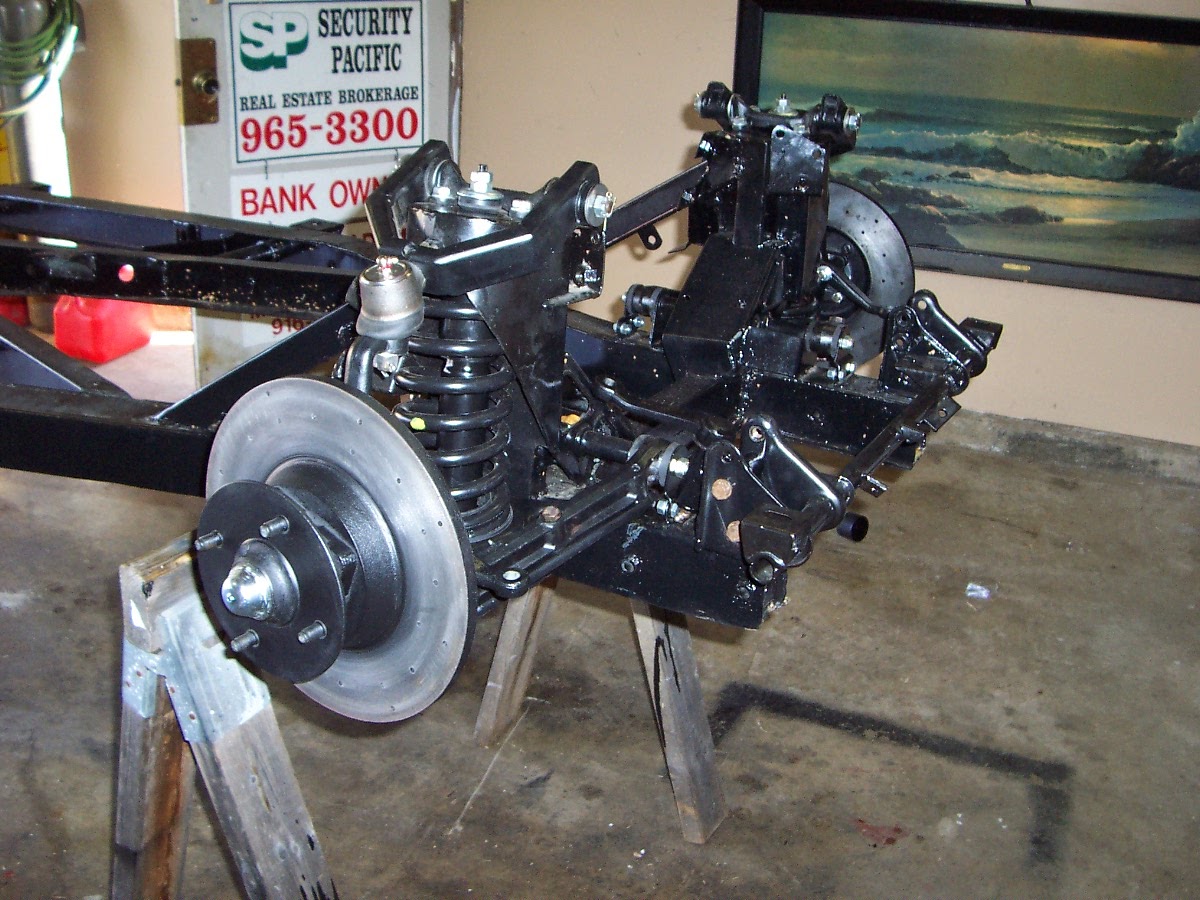
Here's the anatomy of a Triumph TR3A front suspension. Most of these parts were cleaned and painted. the wear-items are all new. The springs are new, because who wants to clean and paint rusty coils?? Not pictured is the aftermarket sway bar that eventually gets installed.
Stage one, new brass trunnions, new ball joint, new bushings. It's so amazingly rewarding to have a project like this start to be put back together with fresh parts.
Eh, pardon the dirty tires. I obviously didn't think this glamour shot through at the time I took it. There wasn't much love for those original rusty, dented 48 spoke wheels anyway.